Exterior Preflight Inspection
James Albright
Updated: 2020-06-01
This is the "official" exterior preflight inspection, the one we pilots are supposed to do. You don't have to open the gear doors or enter the aft equipment bay. There is an expanded checklist that does these things in the AOM, §07-01-10. So the question is when do you need to do the expanded checklist? I asked the Gulfstream GVII program manager (who carries the job title of "Senior Experimental Test Pilot") and was told that only if you didn't trust the mechanic or had been on the road for a while. He said he doesn't think the expanded checklist is needed for a trip where you are on the road for a few days. I asked "what about a few weeks?" He said, "you really don't need to do it then either." I think we might adopt the expanded checklist as a first flight of the month check. Since we will so rarely do them, I am guessing we'll need to have the checklist in hand.
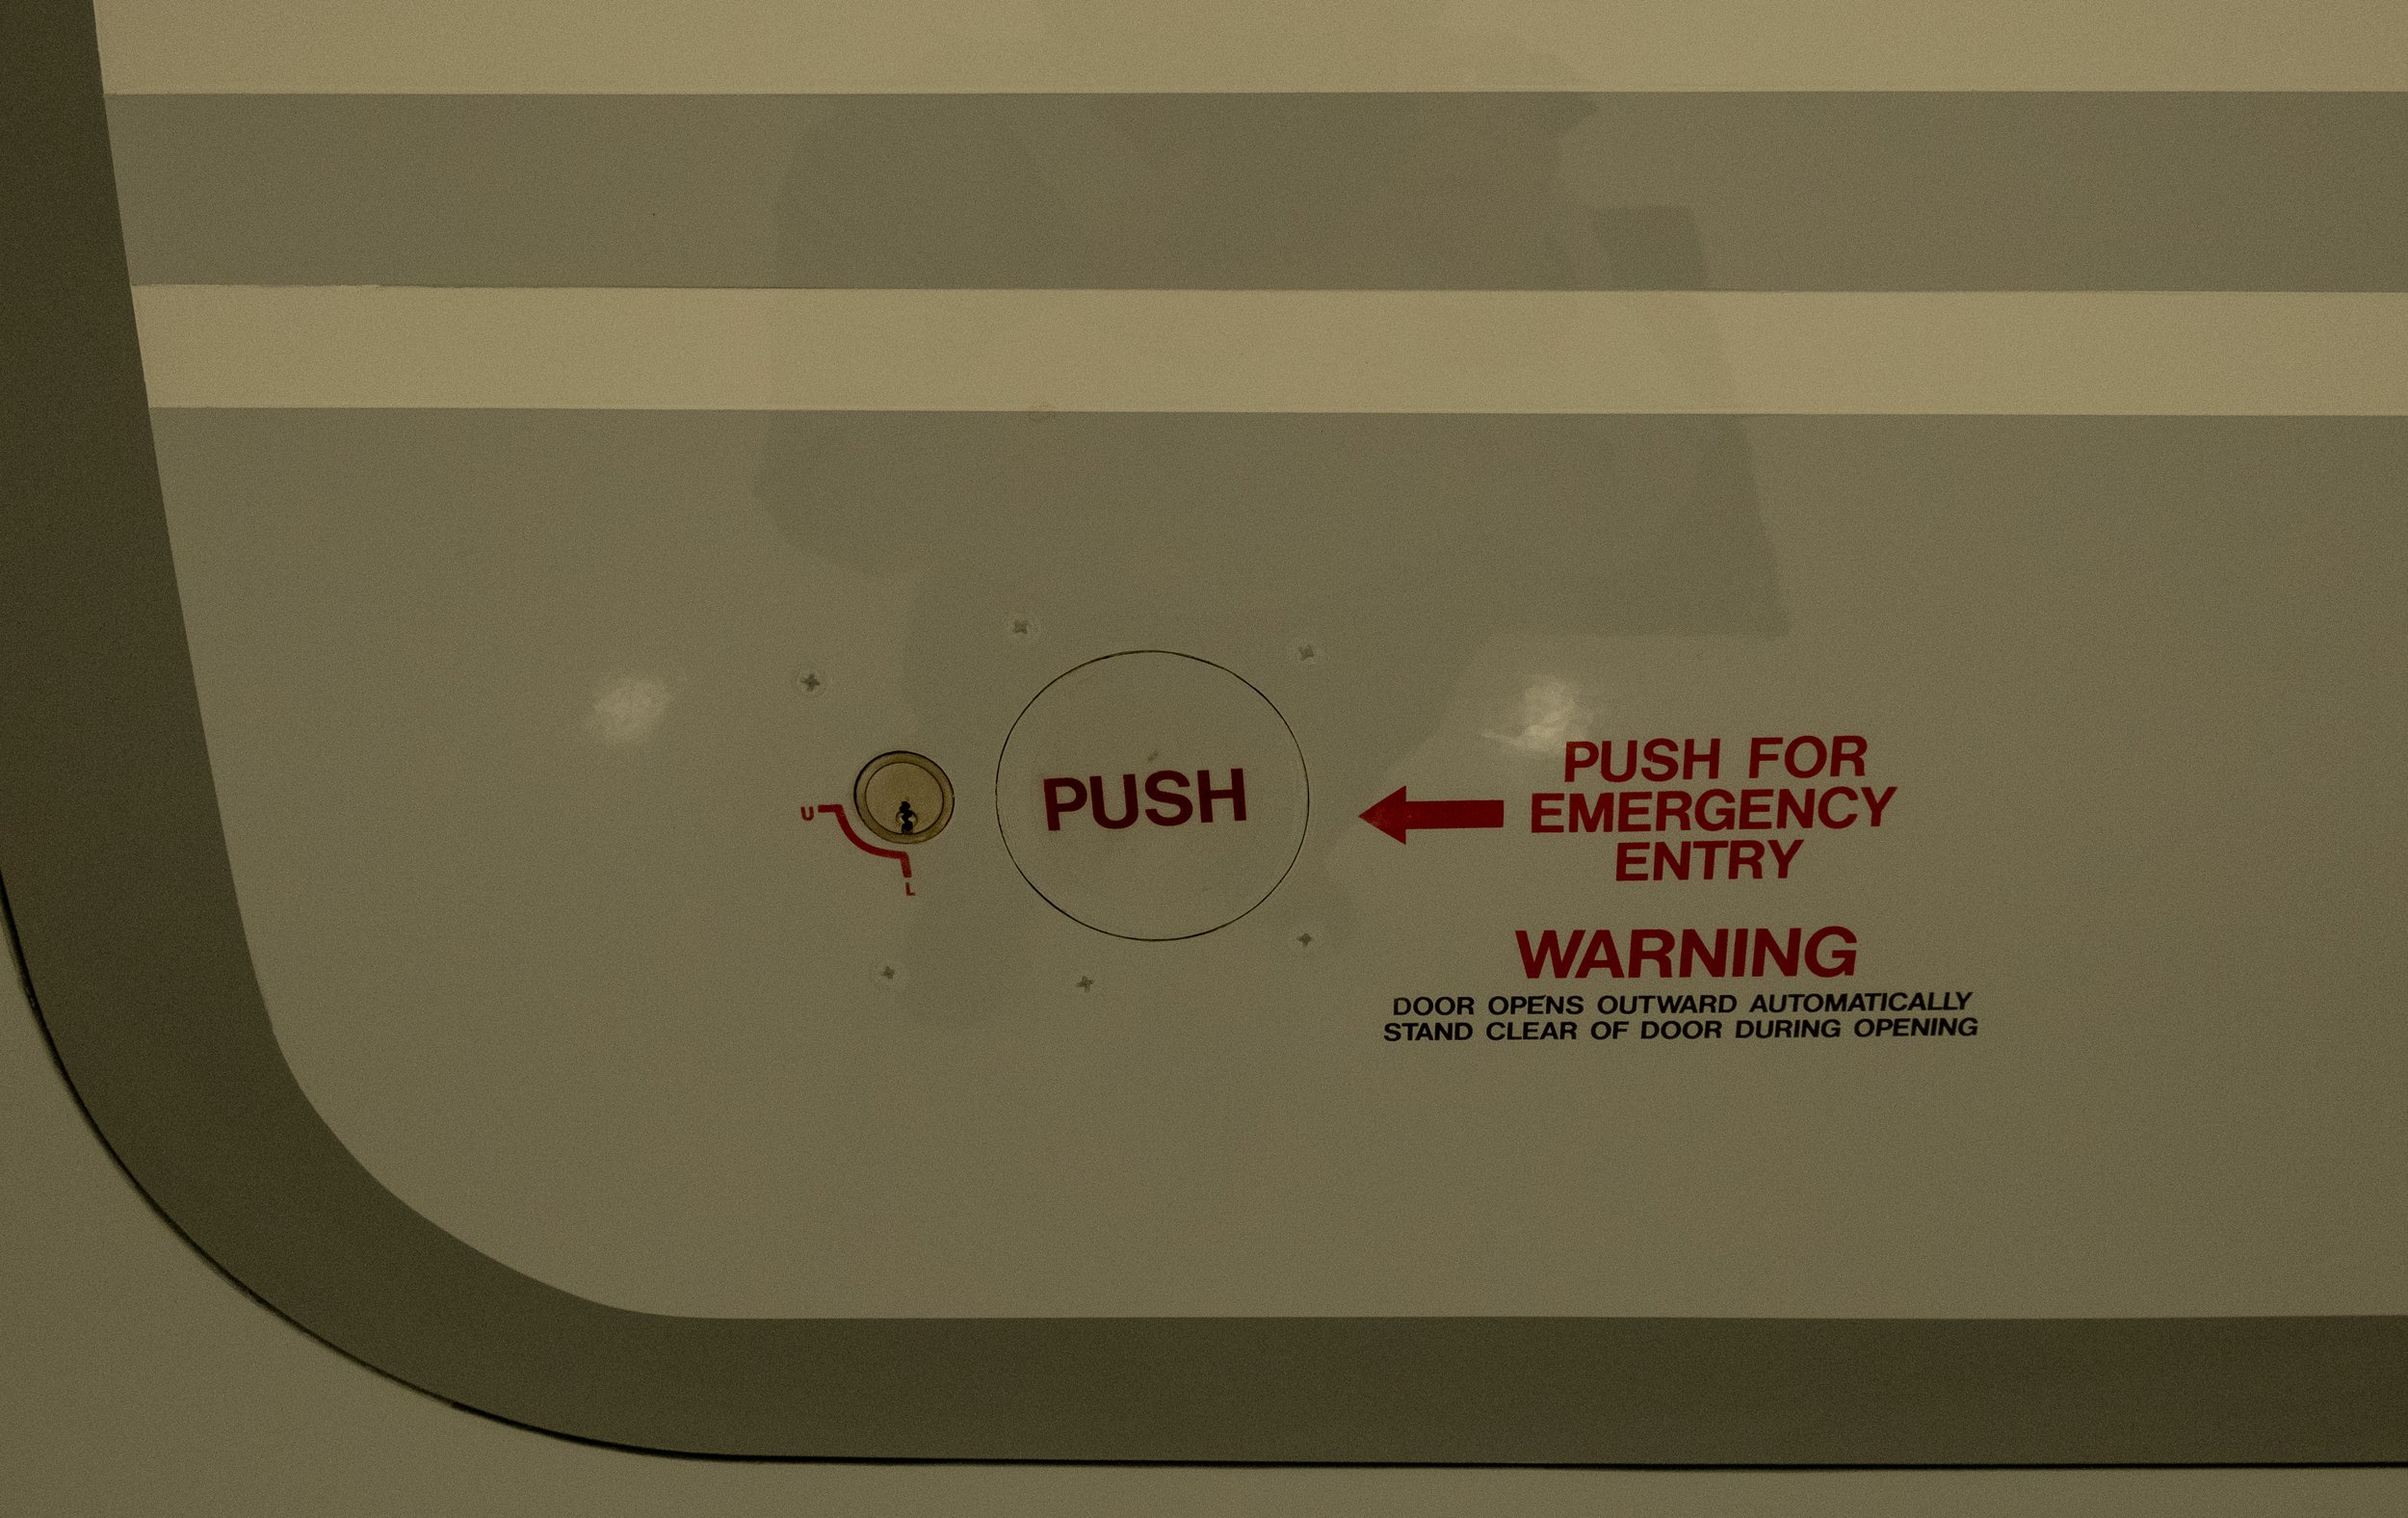
55. MED Emergency Open Button . . . Unlocked
Wait, start with step 55? Yes, you won't be able to later on.
The lock needs to be unlocked for flight. They say you should always do this on the first flight of the day as "the only test of the eBatt." I am not convinced this is true, but I will grant this is the only test of this particular switch and that this is the first switch rescuers will use. So you might as well test it.
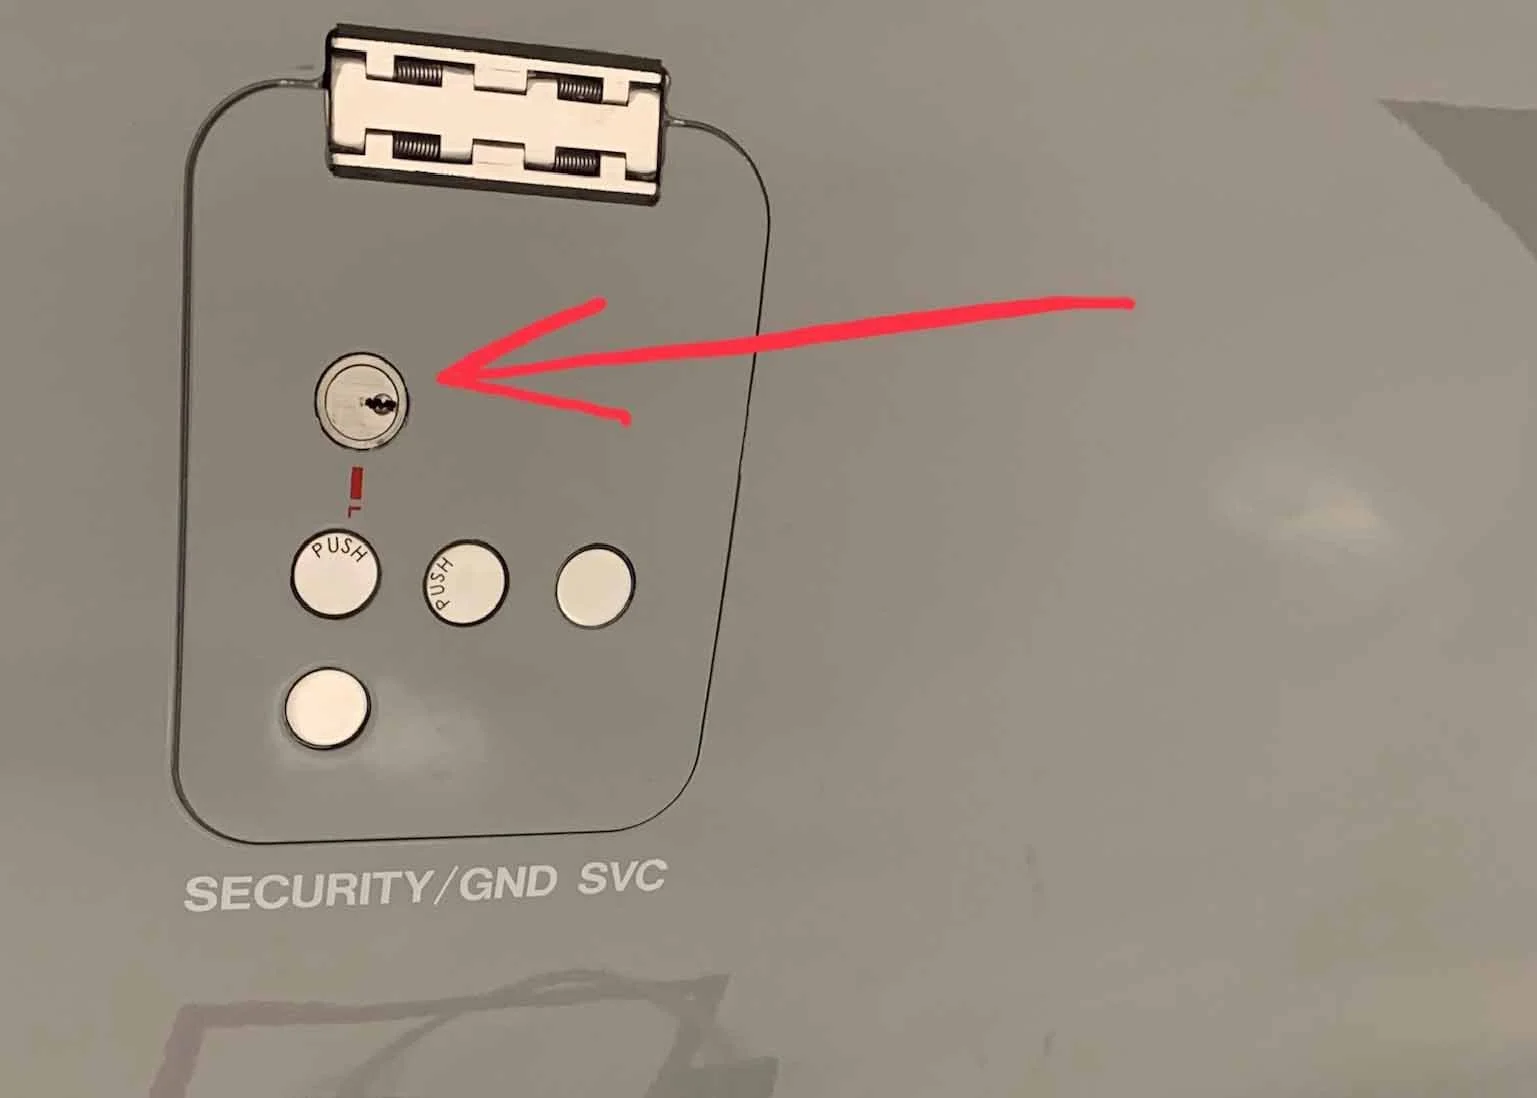
1. Ground Service Panel . . . Switches OFF / Door Secure / Unlocked

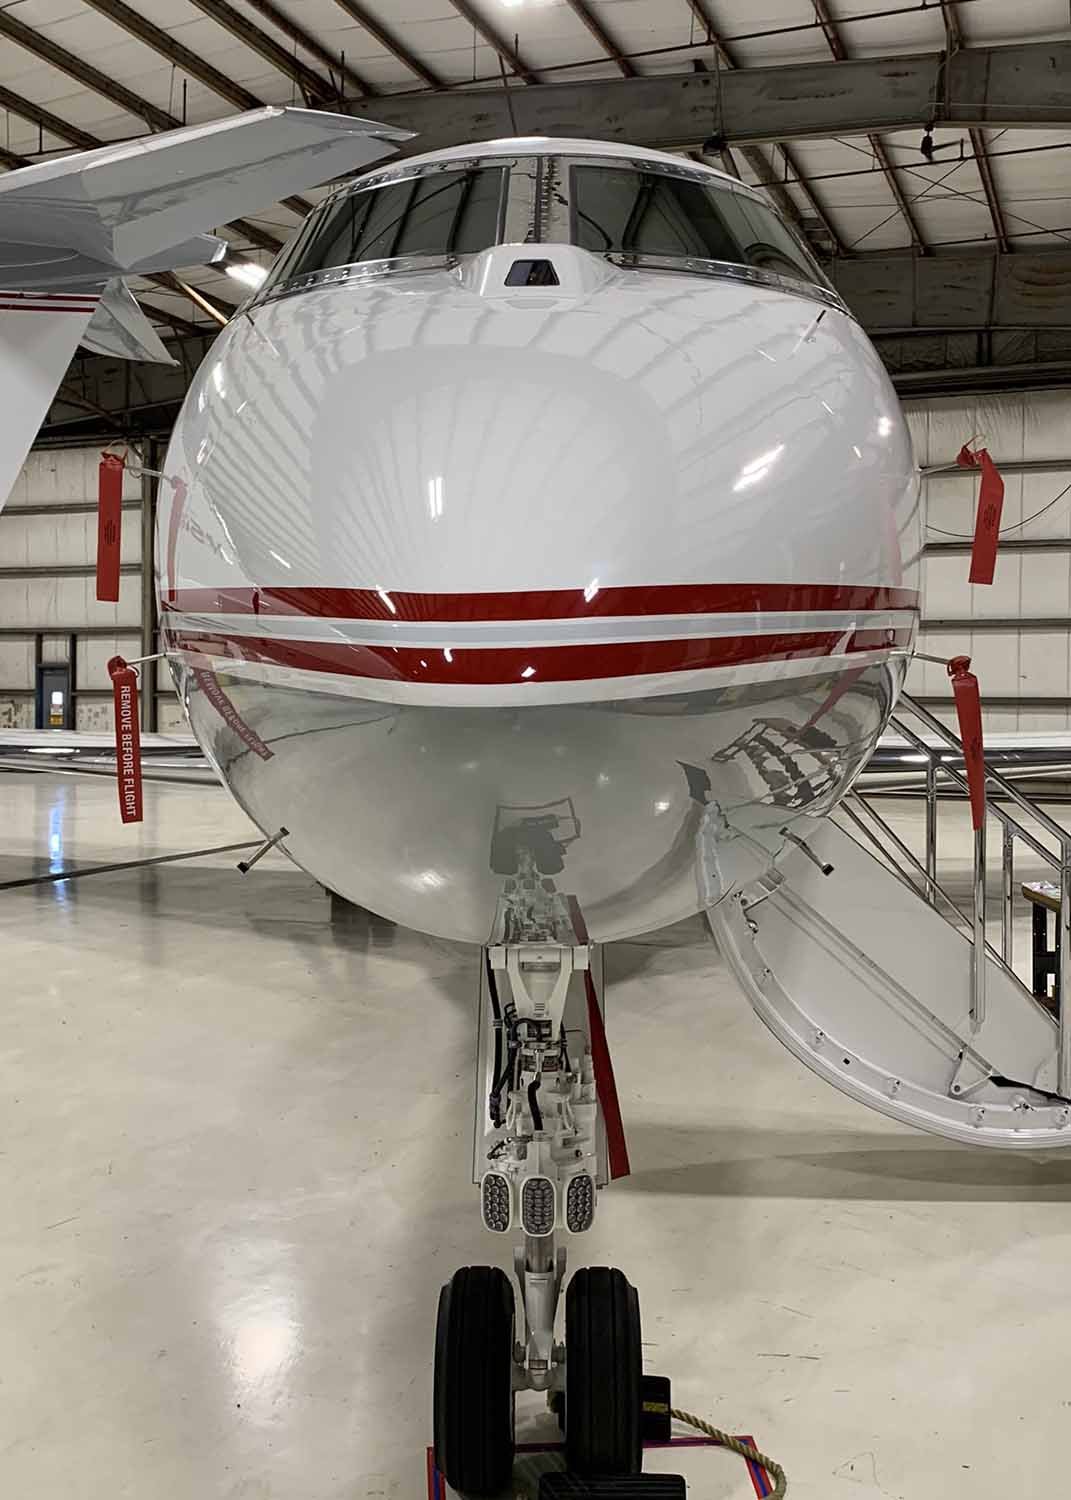
2. Emergency LDG Gear Extension Bottle . . . Verify 3000 PSI.
3. NWS Unit Overtravel Indicator . . . Check

4. NLG Down-Lock Springs . . . Check
While you don't have to reset the uplocks if they are in the wrong position, you should make sure the springs attached to them are present.

5. Taxi Lights / NLG Tires . . . Check
I've heard that a good technique for checking strut extension is "1-3-5," meaning the nose strut should be between 1-3" and the mains should be between 3-5" -- I'm not sure where this comes from.

6. Ice Detection Probes . . . Check
7. Air Data / TAT Probes . . . Check
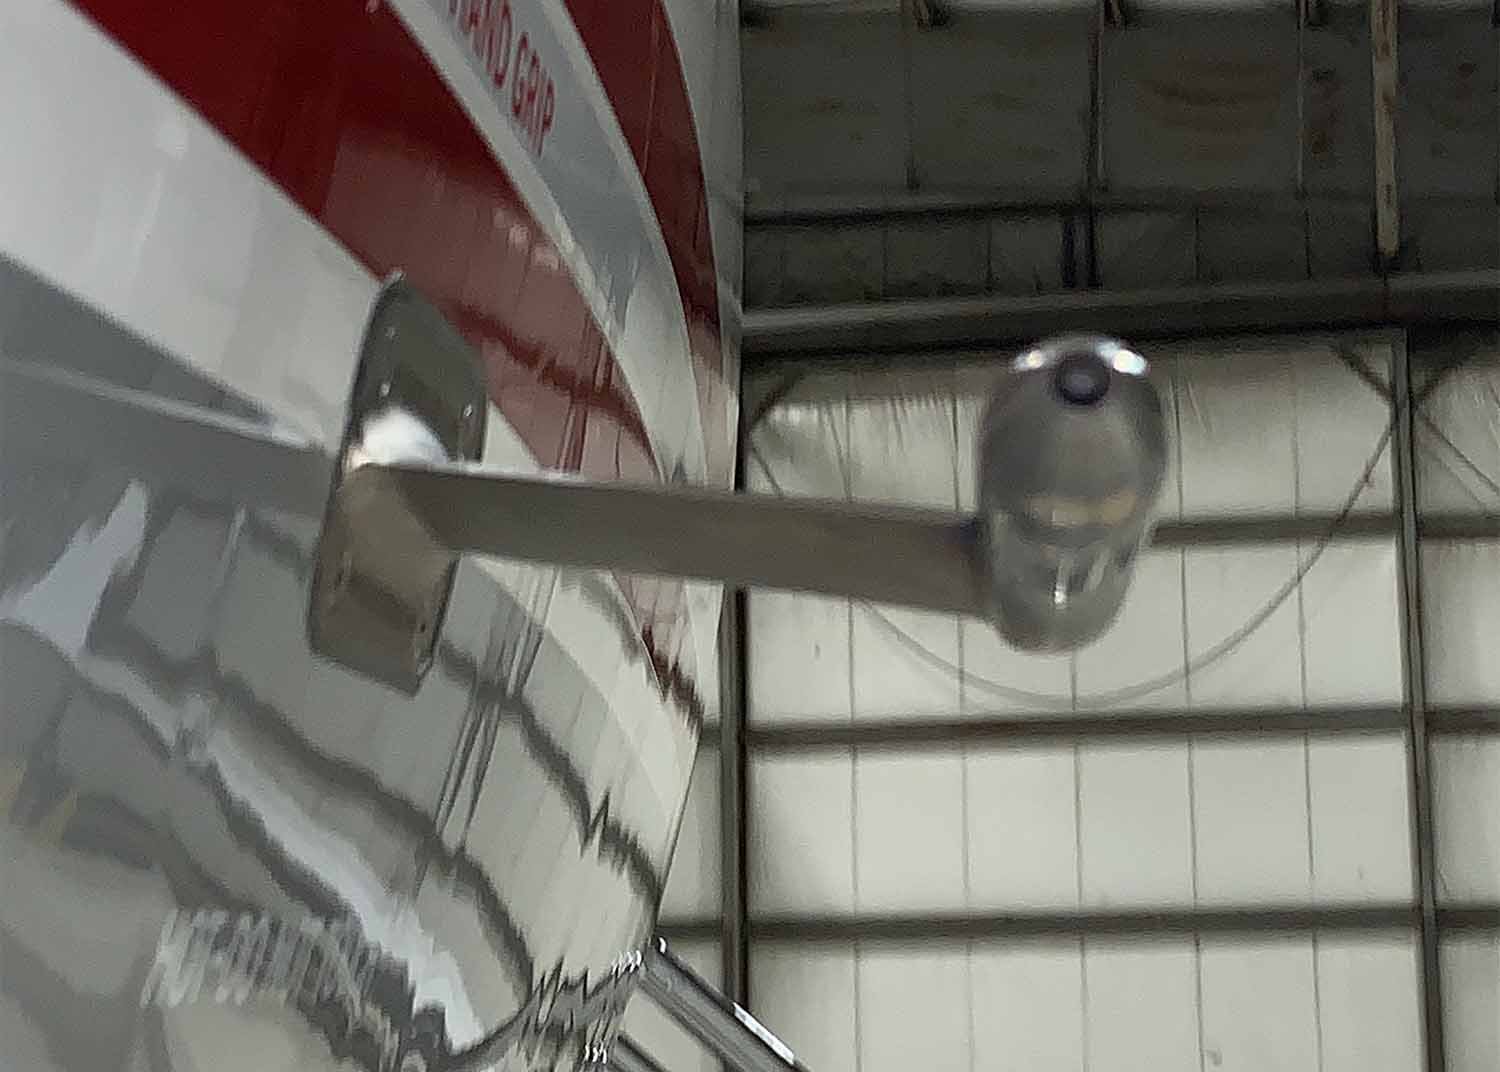
An example air data probe (one of four)
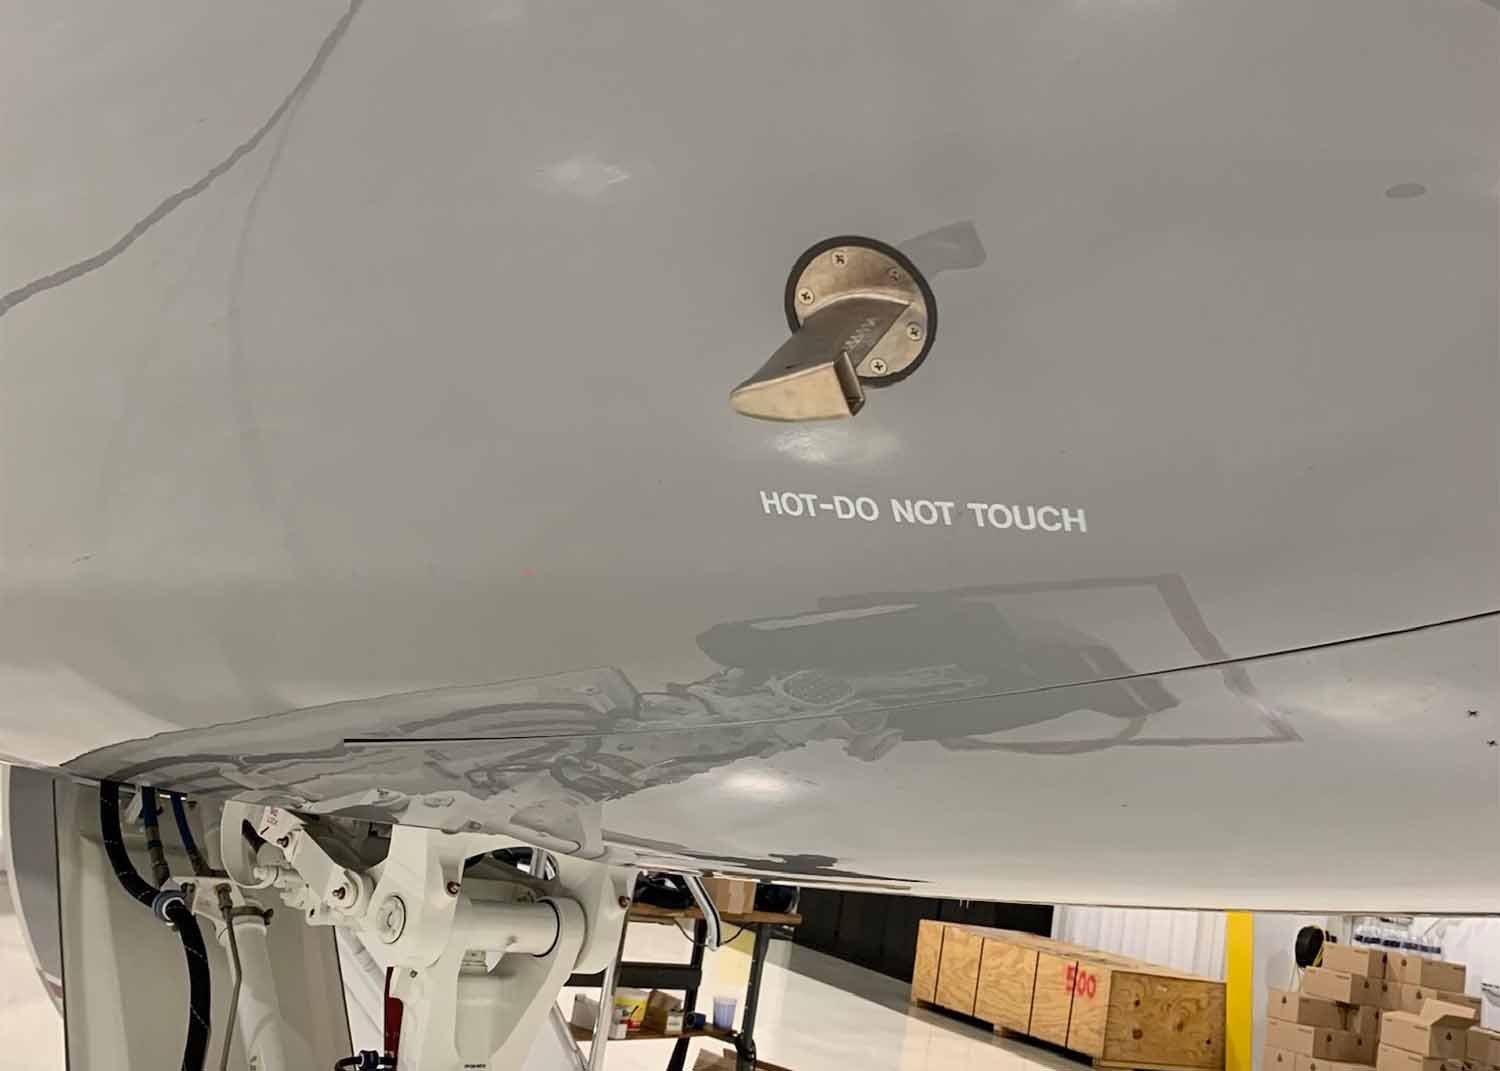
An example TAT probe (one of two)
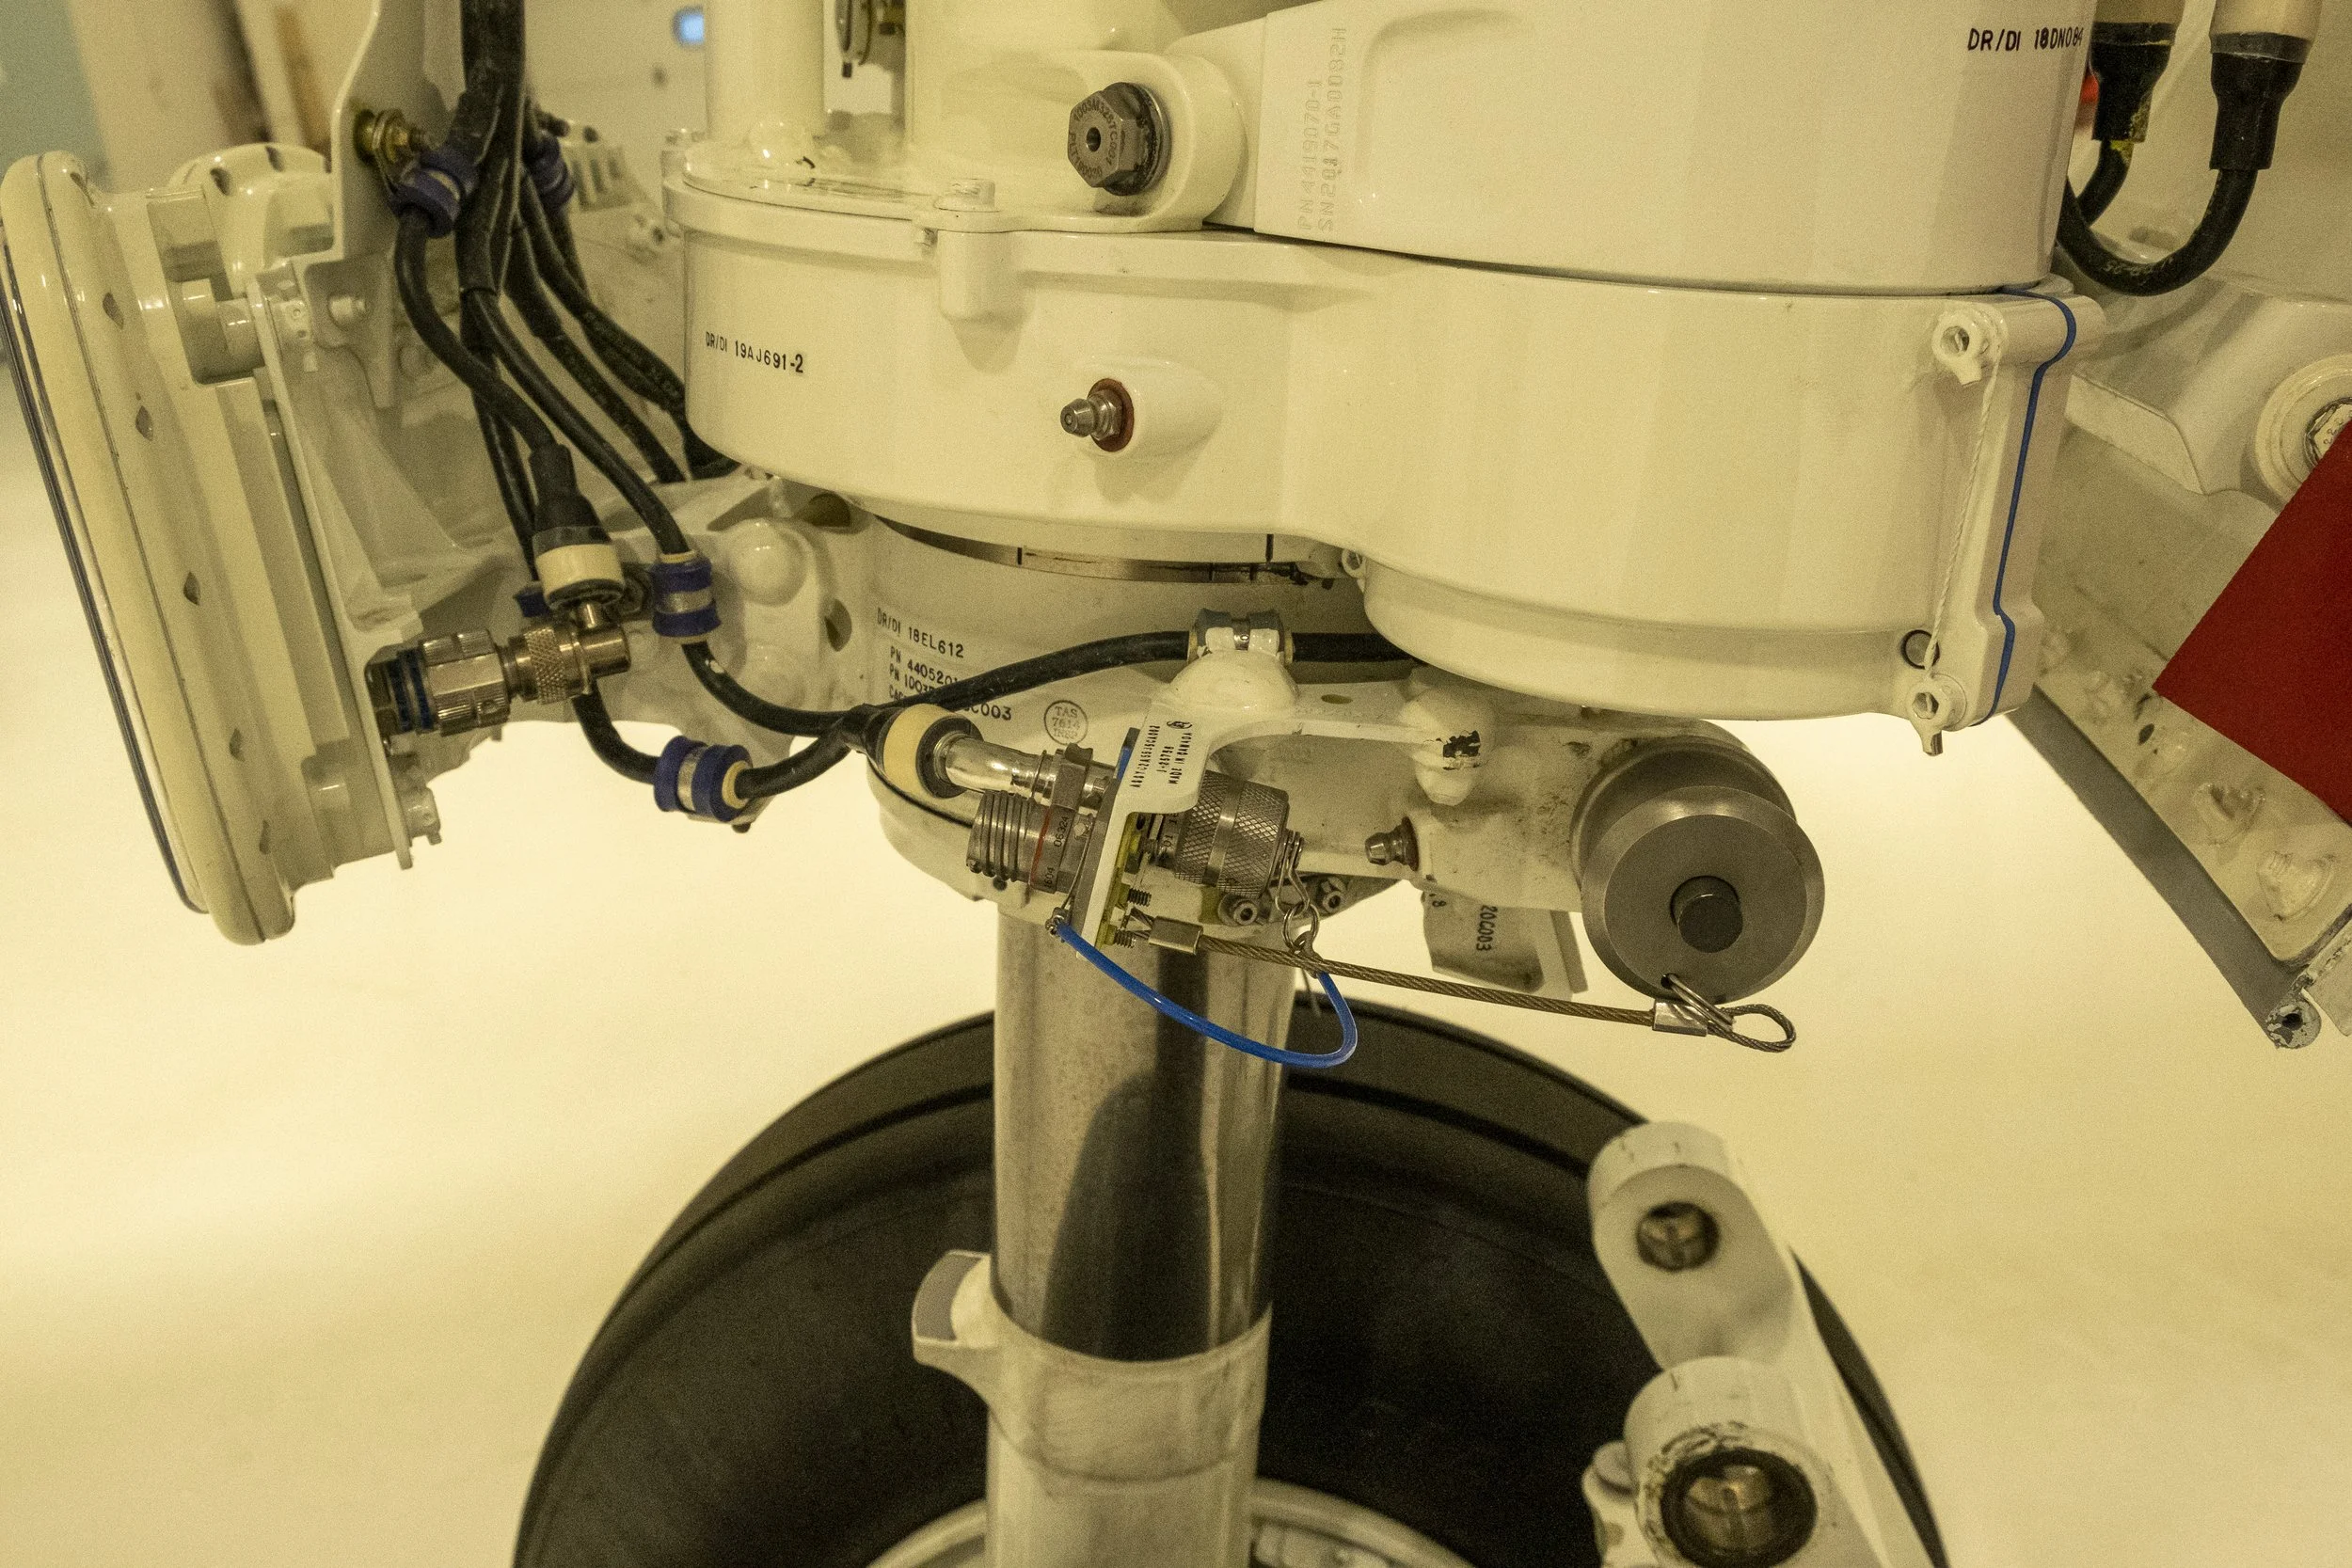
8. NLG Torque Link . . . Pinned / Saftied
When "put to bed" overnight, the NLG torque link is normally unpinned and the steering link pin is secured by its wire to the nose TPMS upper dust cover. You will need to remove that dust cover to free up the wire and remove the steering link pin.

The first step is to lift the steering link scissors to line up with its mating arm. If the arm doesn't line up just right, move the tires left or right to make this happen. This was difficult to do in earlier Gulfstreams and many of us resorted to pushing and pulling the taxi light. This is unnecessary with this airplane, the nosewheel is easily moved to align the scissors link.
The second step is to insert the steering link pin. Then place the wire onto the TPMS cannon plug.

You will need to remove the TPMS wire from its storage position and move it up to the upper position.

Notice there is a dust cover below the storage position mounted horizontally. That dust cover must be placed over the vertical plug to prevent water from pooling in it.
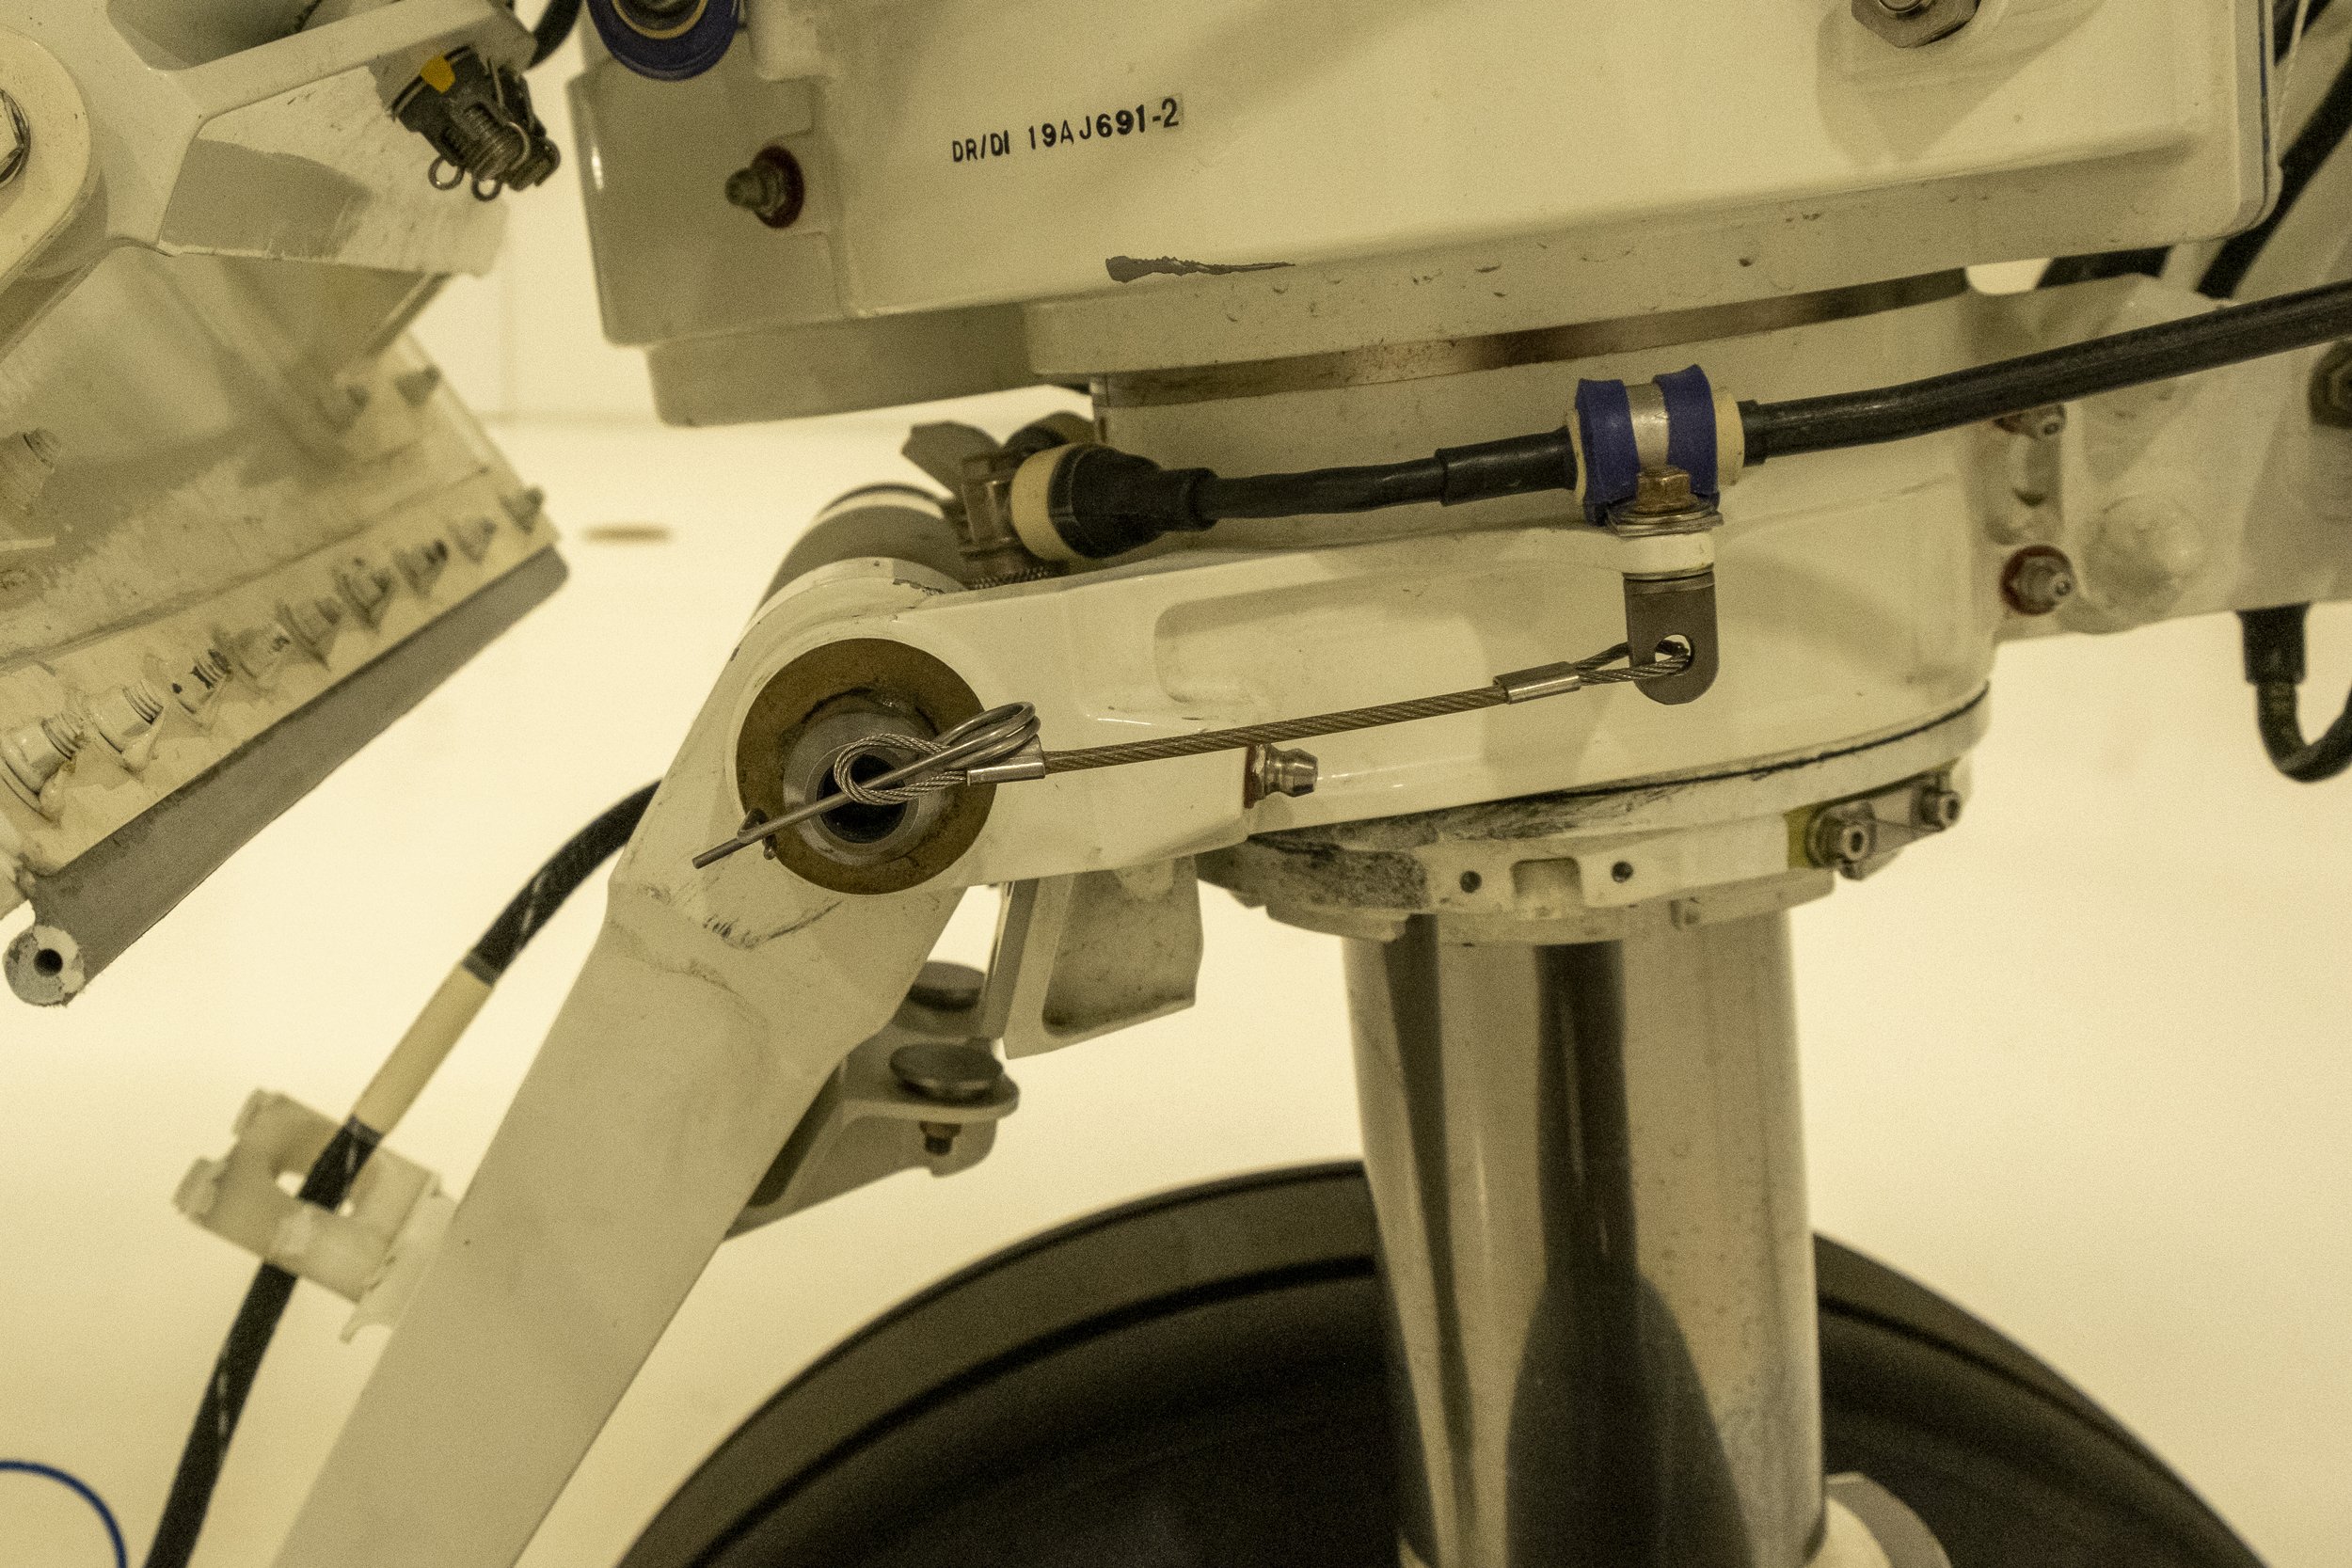
Finally, install the safety wire on the right side of the steering link pin.

9. NLG Safety Pin . . . Remove
The pin should remove easily, if you feel any resistance stop and investigate.

10. PRV / TROV . . . Clear / Check
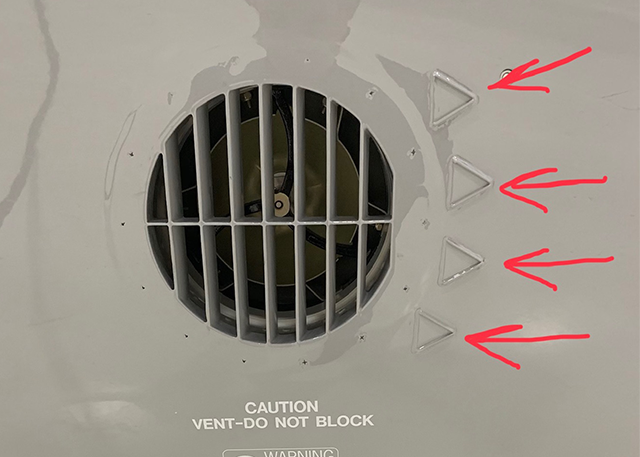
11. PRV Vortex Generators (4) . . . Check
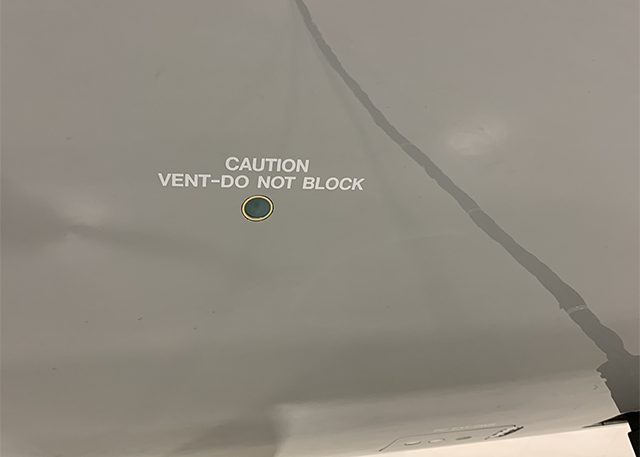
12. Oxygen System Overboard Discharge Disk . . . Intact
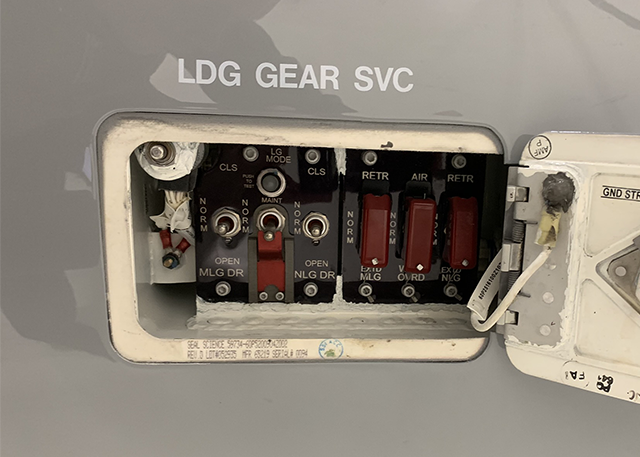
13. Landing Gear Control Maintenance Panel . . . Check

14. PRV Static Ports . . . Check

15. Antennas . . . Check

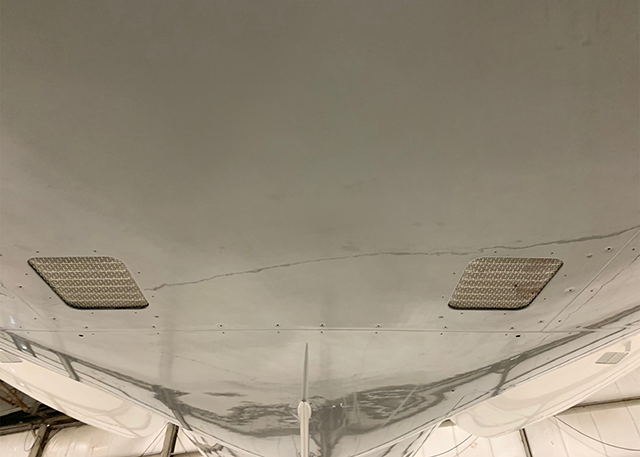
16. Wing-to-Body Fairing Inlet Vents . . . Check

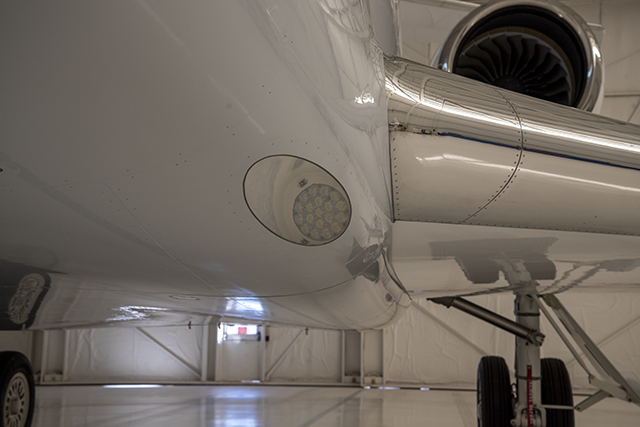
17. Right Landing Light . . Check
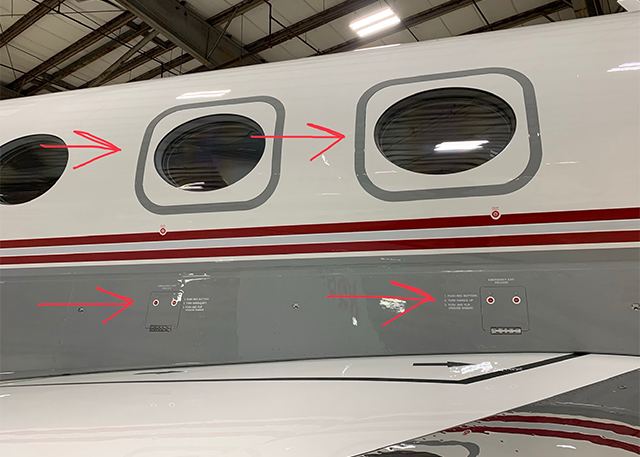
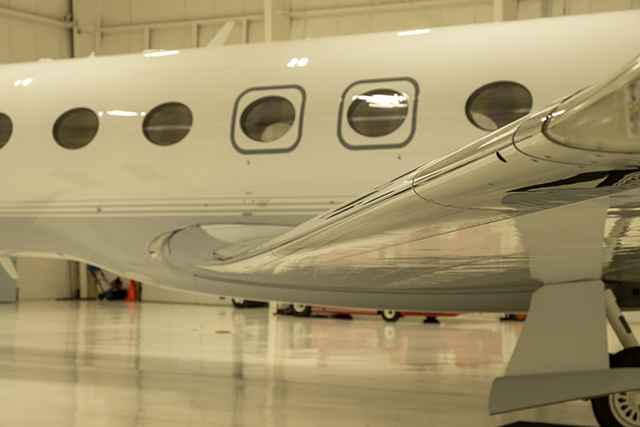
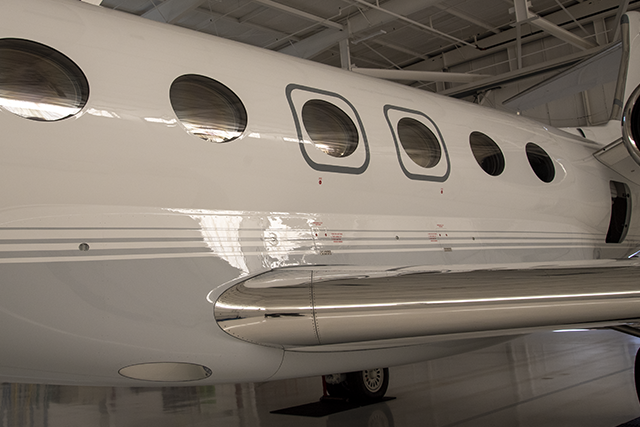
18. Right Window Emergency Releases / Windows . . . Secure

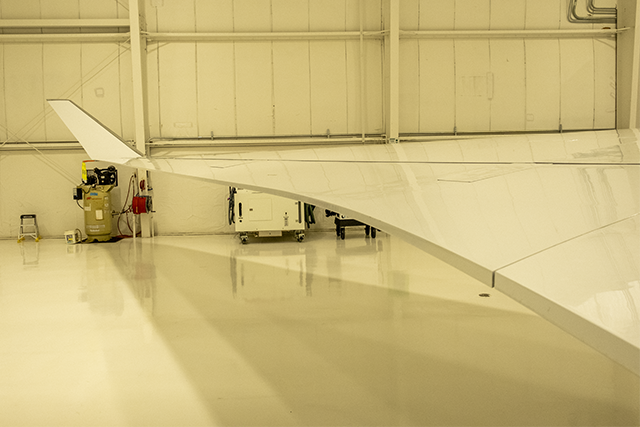
19. Right Wing Leading Edge . . . Check

20. Right Fuel Tank Vent . . . Check

21. Right Wing Equipment Bay Vent . . . Check

22. Right Leading Edge Wing Tip Vent . . . Check

23. Right Wing NAV / Strobe / Wingtip Lights . . . Check

24. Right Winglet . . . Check

25. Static Wicks (3) . . . Check

26. Right Wing Aileron / Spoilers / Flaps . . . Check
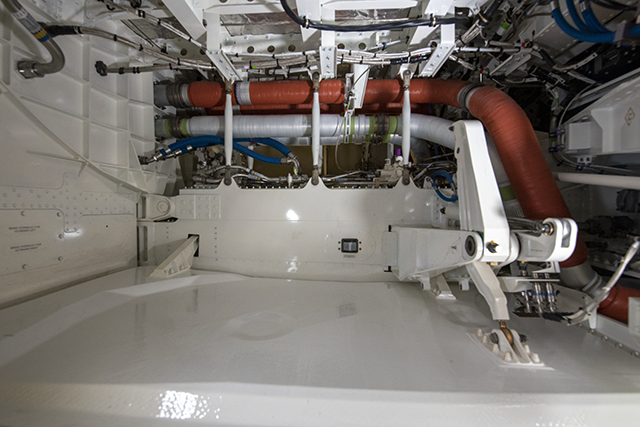
27. Right MLG Wheel Well Compartment . . . Check
While you don't have to reset the uplocks if they are in the wrong position, you should make sure the springs attached to them are present.

28. Right MLG Tires . . . Check
I've heard that a good technique for checking strut extension is "1-3-5," meaning the nose strut should be between 1-3" and the mains should be between 3-5" -- I'm not sure where this comes from.

29. Right MLG Safety Pin . . . Remove
30. Beacon . . . Check
31. Wing-to-body Fairing Exhaust Vents . . . Check

32. Right Engine Cowl / Access Doors / Vents / Exhausts . . . Check

33. APU Exhaust . . . Check

34. Rudder . . . Check

35. Tailcone . . . Check
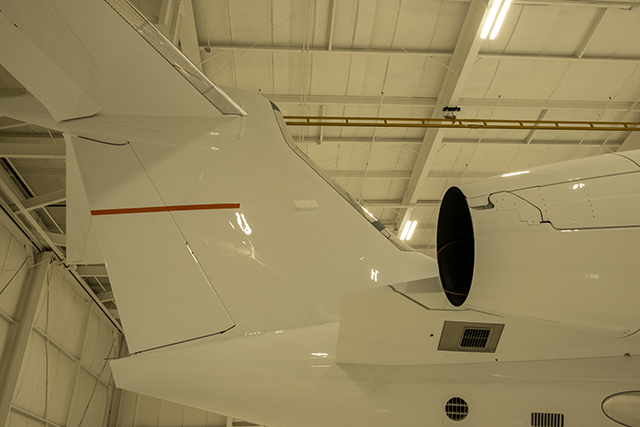
36. Vertical / Horizontal Leading Edges . . . Check

37. Horizontal Stabilizer / Elevators . . . Check

38. Tail Navigation / Strobe Light Condition . . . Check

39. Static Wicks (8) . . . Check
Three on each side of the trail edge of the elevators and horizontal stabilizer, one on the upper tail cone and one on the lower tail cone.

40. Left Engine Cowl / Access Doors / Vents / Exhausts . . . Check
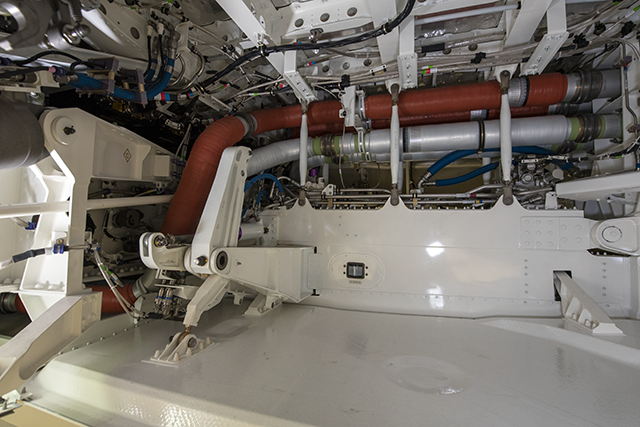
41. Left MLG Wheel Well Compartment . . . Check
While you don't have to reset the uplocks if they are in the wrong position, you should make sure the springs attached to them are present.

42. Left MLG Tires . . . Check
I've heard that a good technique for checking strut extension is "1-3-5," meaning the nose strut should be between 1-3" and the mains should be between 3-5" -- I'm not sure where this comes from.

43. Left MLG Safety Pin . . . Remove
44. Left Wing Flaps / Spoilers / Ailerons . . . Check

45. Static Wicks (3) . . . Check

46. Left Winglet . . . Check

47. Left NAV / Strobe / Wingtip Lights . . . Check

48. Left Leading Edge Wing Tip Vent . . . Check

49. Left Wing Equipment Bay Vent . . . Check

50. Left Fuel Tank Vent . . . Check
51. Left Wing Leading Edge . . . Check
52. Left Window Emergency Releases / Windows . . . Secure
53. Left Landing Light . . . Check

54. MED . . . Check

55. MED Emergency Open Button . . . Unlocked
Wait, isn't it too late? Yes, you should have checked this at the start.
The lock needs to be unlocked for flight.
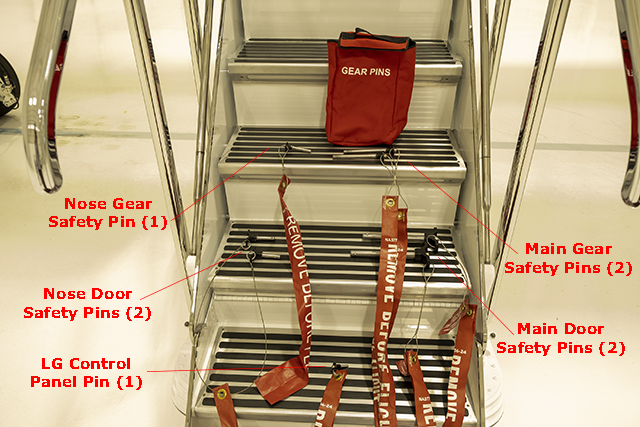
56. Confirm all gear pins (8) are removed and stowed. All external covers removed and stowed.